Unlocking the No-Fly Zones (NFZ) for DJI drones
To plan and fly missions in restricted areas the NFZ has to be unlocked within two levels:
- To plan missions, the NFZ has to be unlocked in UgCS desktop (feature enabled for UgCS PRO and UgCS ENTERPRISE),
- Request NFZ zone unlock via DJI website
Open "Safe Zone Unlock" and Log in to the account. Choose "Unlock Request" section from the top bar of the website. At this point, all the requests and their validity status should be displayed.

- Press “New Unlock Request” and proceed with Zone Unlocking. Select device and pilot details from the drop-down menu or add a new device and pilot for the request.
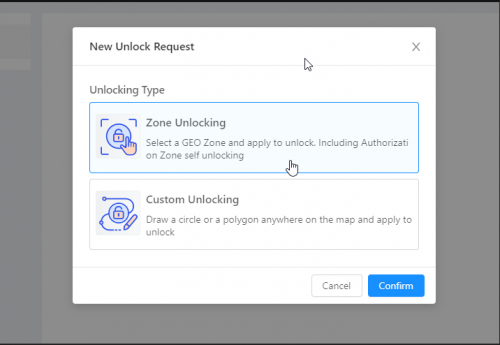
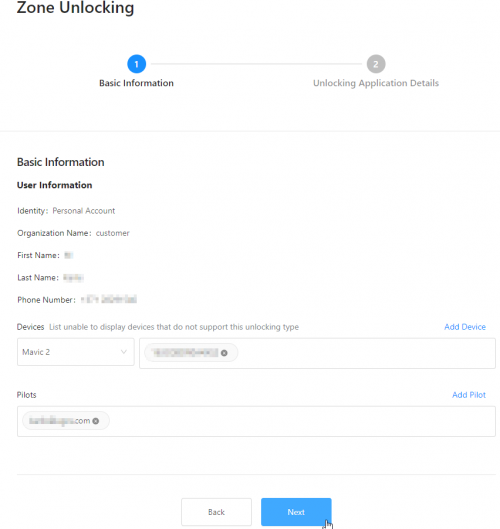
- After the requestor has provided all the details it will be available to choose the restricted zone.
NOTE: there are different zones and for each type of zone different rules apply for unlocking. In our example, we used a zone with the color blue. For other zones, it may be required to receive permission from your local government institutions.
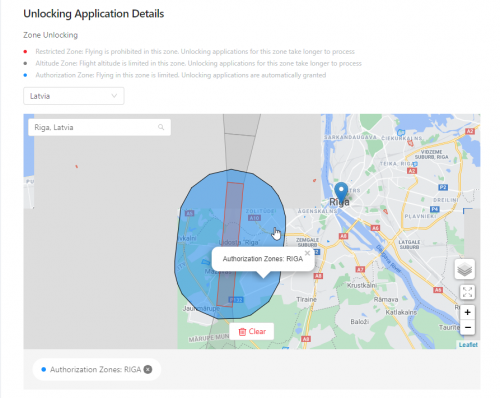
- Choose the correct zone, and the time range, and add a reason for unlocking.
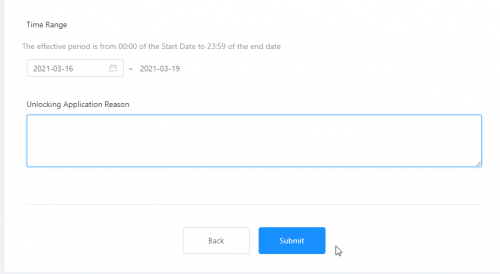
- Now, the request is available in the list of “Zone requests”.
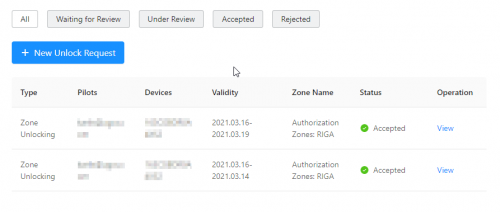
- As soon the zone has the status “Accepted”, it is available for upload to the drone via the DJI application. 3. Power on your DJI drone and connect it to the DJI Go4 Application.
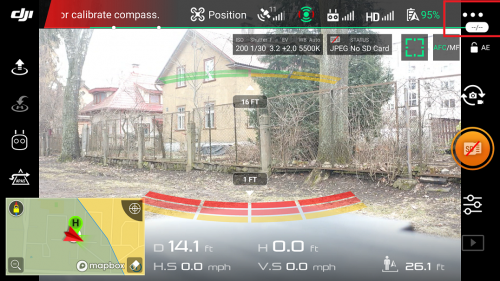
- Choose the “General Settings” menu and scroll down to the “Flight restrictions” section.
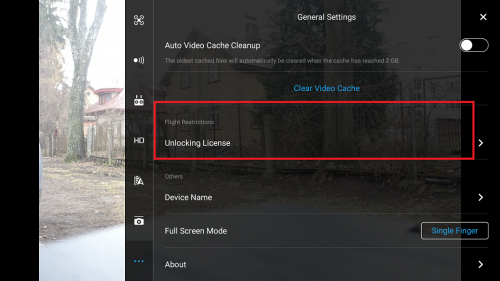
- Open Unlocking License and import unlocked restriction to the aircraft.
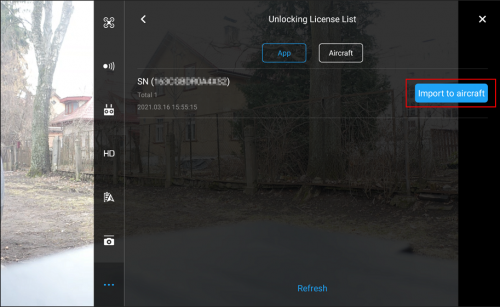
- In case of successful import, message is visible.
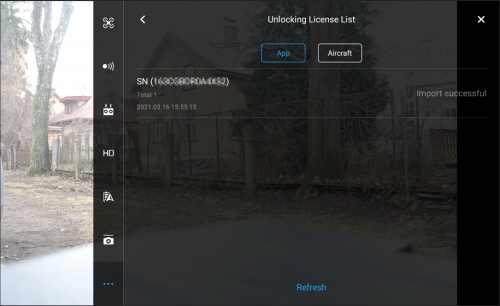
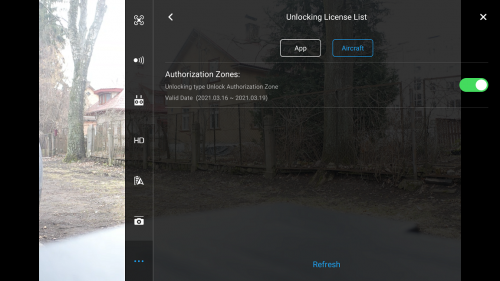
- The restricted zone will appear now in the Aircraft section as enabled.
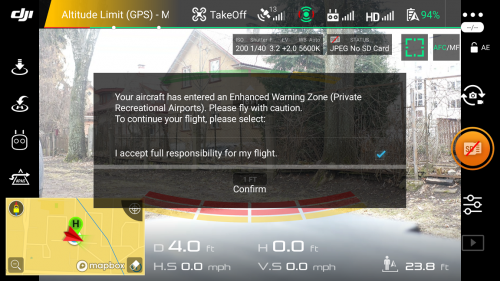
- The prompt message will display. Close the DJI Go4 application. NFZ settings will be saved in autopilot
Updated 2 months ago
